Adding a license
Before you can use the StorONE system, it must be licensed. If you do not have a license, contact StorONE Support or your account representative. You must provide the fingerprints for each controller node to StorONE when requesting a license. The following procedure demonstrates how to obtain the fingerprints, and request and install the license.
Determine the controller node fingerprints
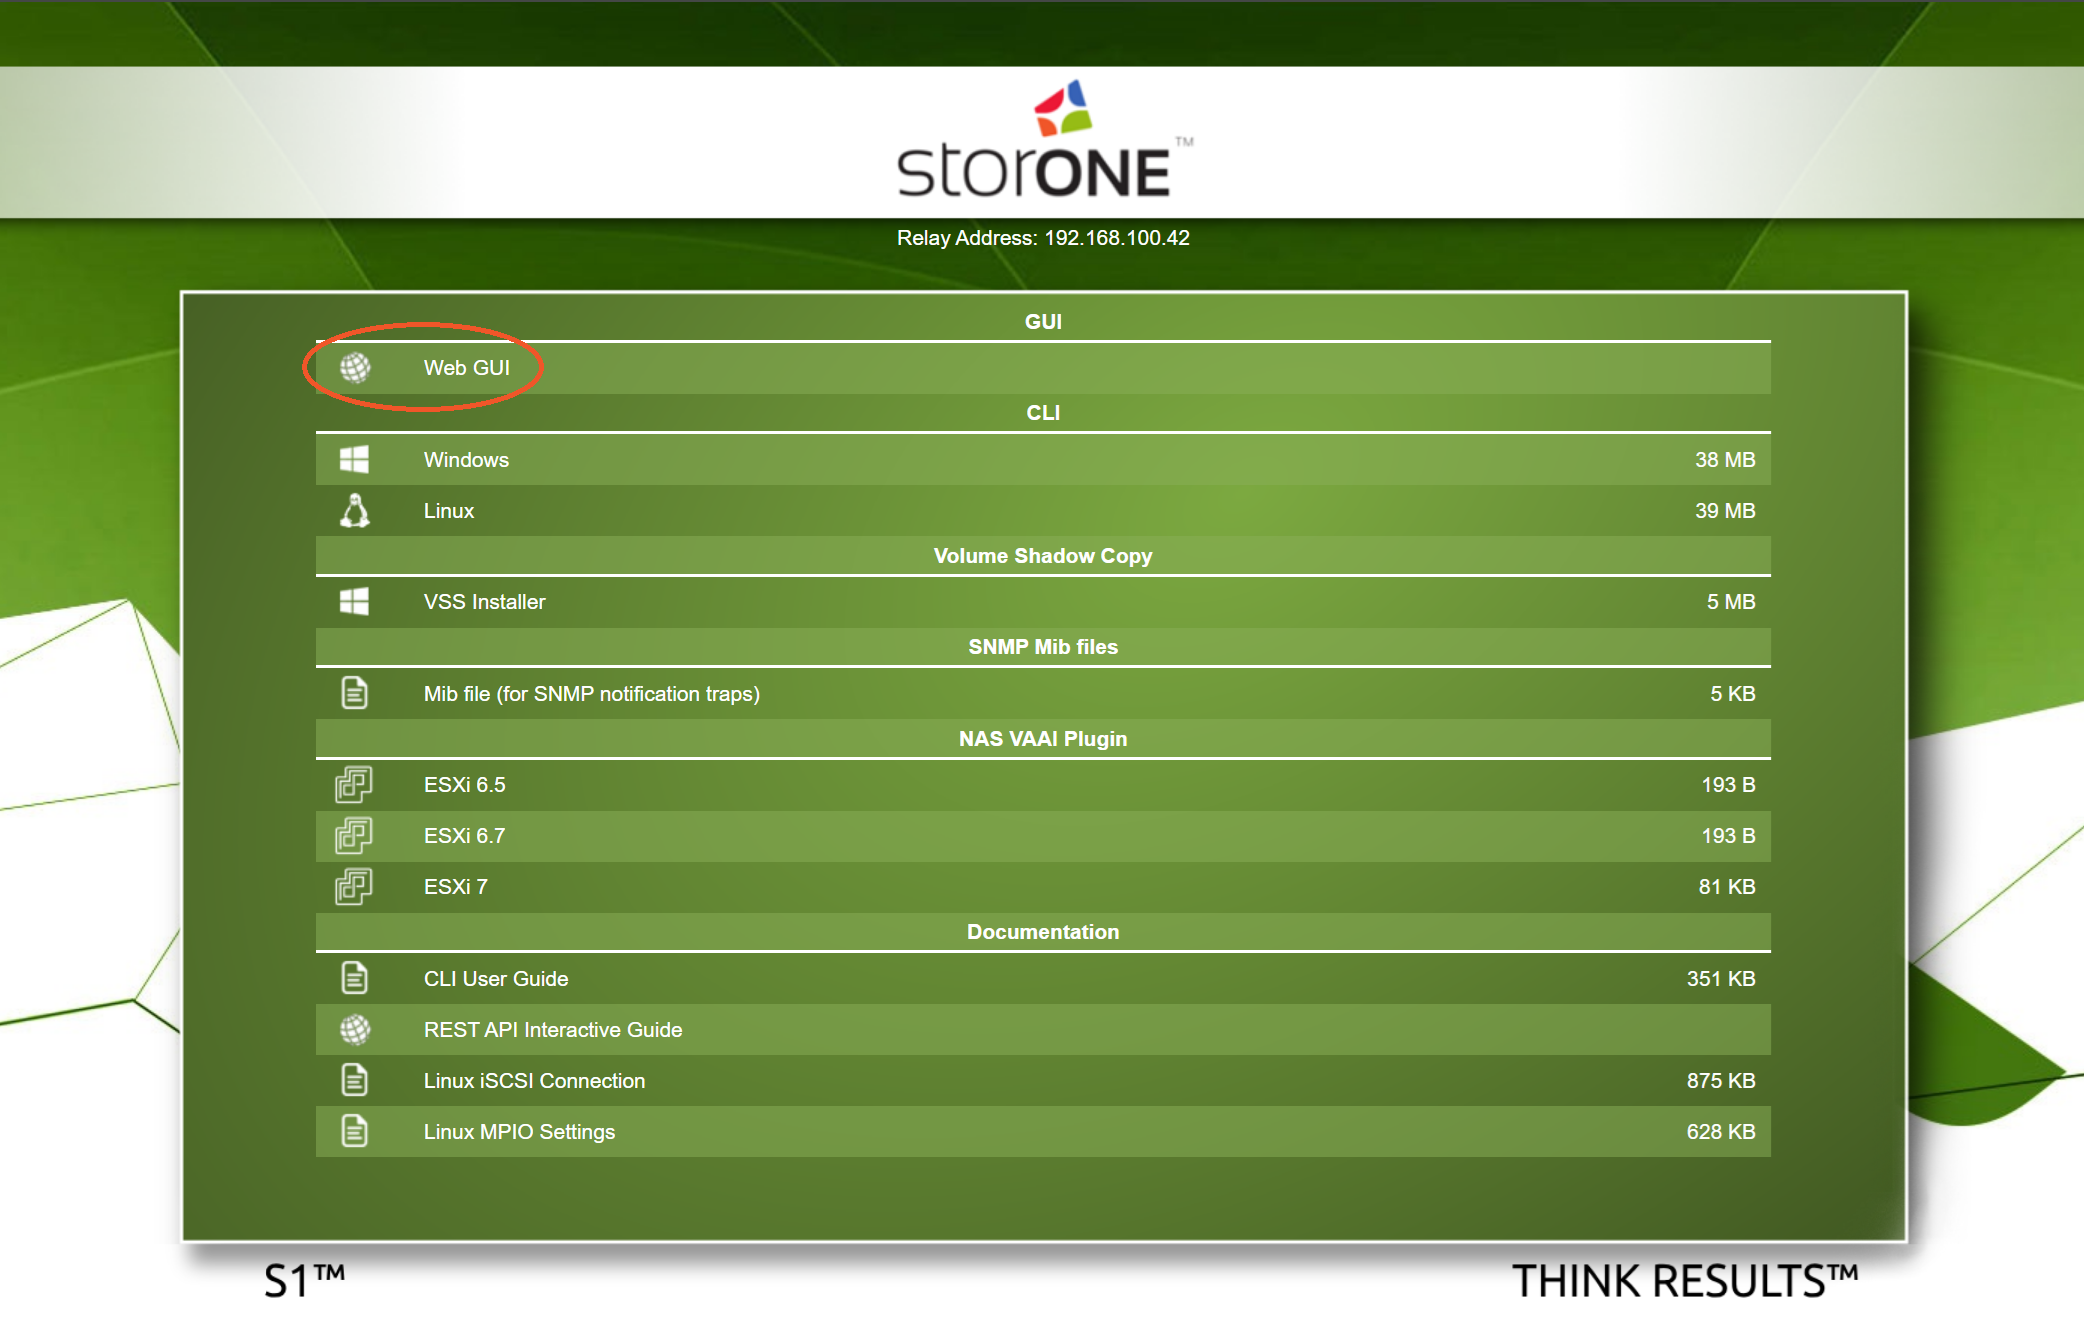
S1 licenses are bound to a unique hardware fingerprint for each controller node. After installing the S1 software and completing the initial setup, navigate in your web browser to the IP address or DNS name of a controller node. Click the Web GUI link:
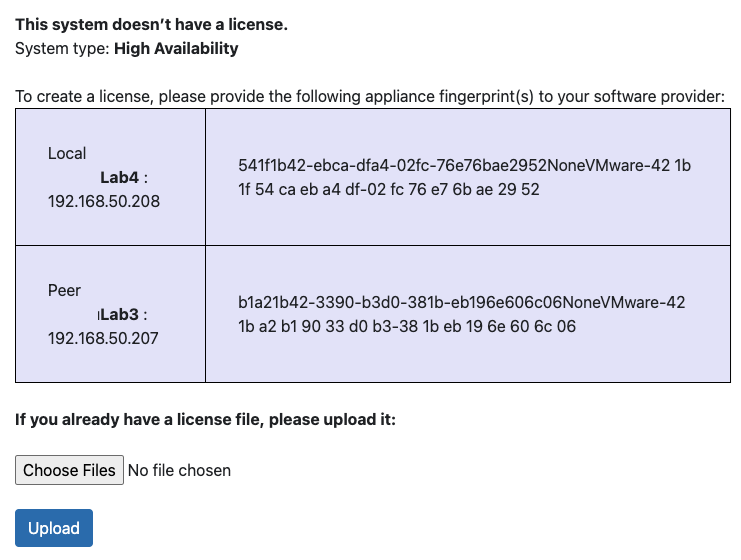
On a system without a license, the web GUI displays a message similar to the following. In a dual-node high availability (HA) cluster, both node fingerprints are displayed. In a single node deployment, only one fingerprint is listed.
Request a license
If you have not already received a license, contact StorONE support to request one. Provide the hardware fingerprints for all controller nodes you want to license. After validating your account entitlement, they will provide a license file for you to upload to your S1 system.
Upload the license
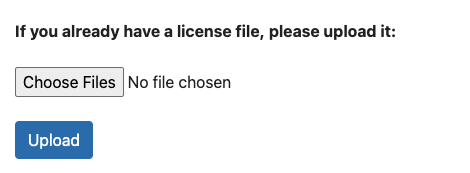
- In your web browser, navigate again to the web GUI on one of the controller nodes. On the licensing page, click the Choose Files button:

- Browse to your license file and select it, and then click Upload.
- If your system is a two-node HA cluster, navigate to the web GUI on the other controller node, and repeat steps 1 and 2.
- After all nodes are licensed, the web UI updates to display that the system is ready to be started:
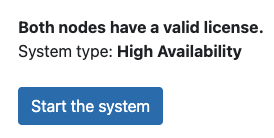
- Click Start the system. After the system is started, the login form appears. You can then log in and manage your system. For more information on using the web interface, see Web Application Interface.

No comments to display
No comments to display