
Deploying StorONE on Azure
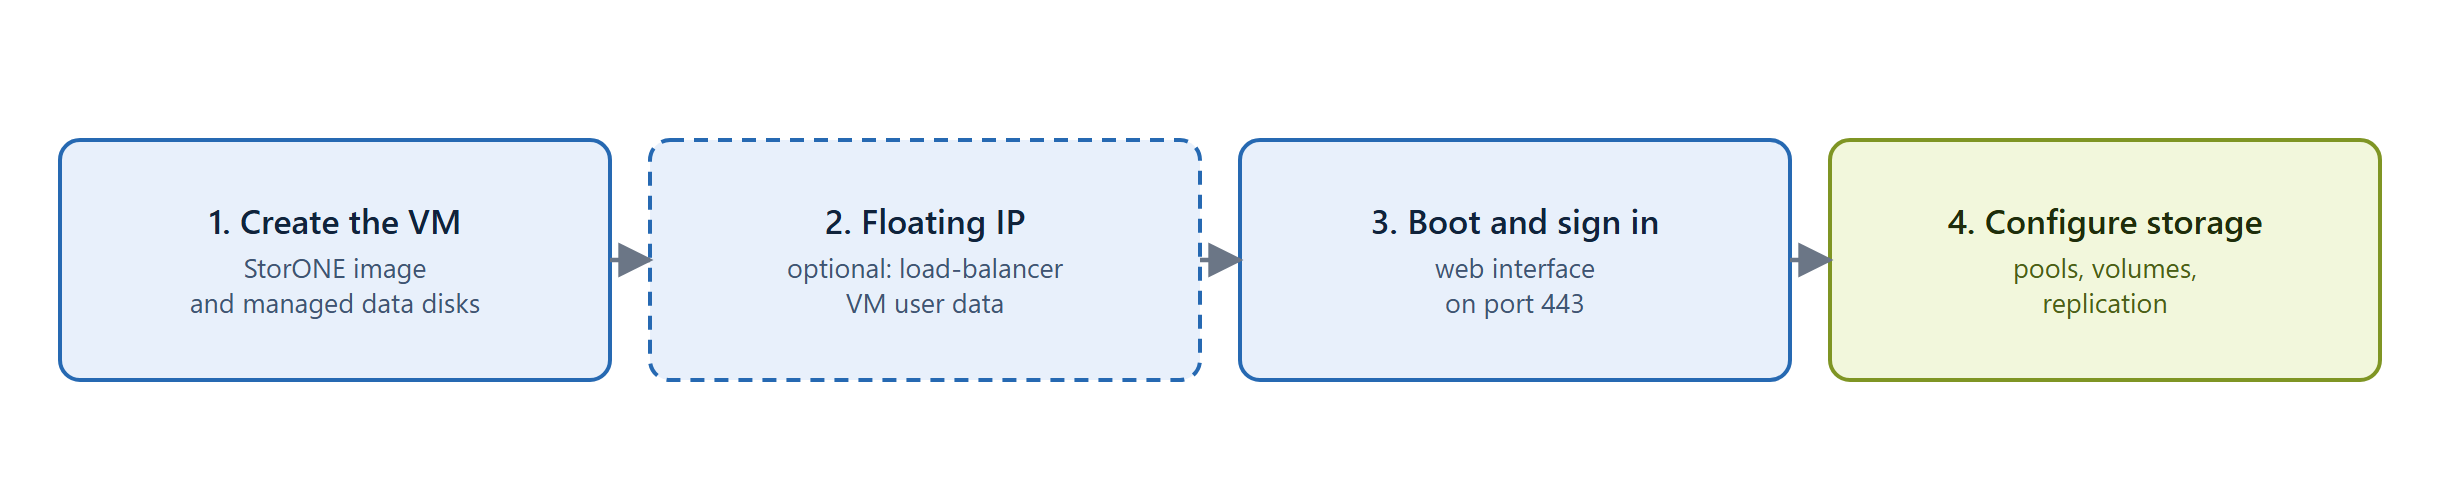
Deploying takes four steps: create the virtual machine, optionally set up a floating IP, boot it, then configure storage.
Prerequisites
Open only the ports for the services you actually use.
Step 1: Create the virtual machine
Create an Azure VM from the StorONE image and attach the managed data disks it should use. The disks are discovered automatically and appear as drives.
Size the disks for both capacity and performance tier: the disk type and caching choices you make in Azure directly set the drive performance StorONE sees.
Step 2 (optional): Set up a floating IP
A floating IP is one fixed address that clients always connect to. A StorONE load-balancer component provides it, and you configure it from the load-balancer VM's user data. When you create the load-balancer VM in the Azure portal, open the Advanced tab, tick Enable user data, and paste:
{
  "floating_ips": [
    {
      "public_ip": "10.0.1.100",
      "load_balancer_internal_ip": "10.0.1.10",
      "s1_ips": ["10.0.1.21"]
    }
  ]
}
public_ip
The address your clients will connect to.
load_balancer_internal_ip
The load-balancer VM's own private IP address.
s1_ips
The private IP address of each StorONE node behind the load balancer.
Add one entry under floating_ips for each client-facing address. The Azure portal handles the base64 encoding; with the Azure CLI, pass the same JSON with --user-data.
What the load balancer does
The load balancer checks every 5 seconds which StorONE node currently reports the floating IP as active, and forwards client traffic for the floating IP to that node. The check uses TCP port 18016 on each StorONE node, so allow that port from the load-balancer VM to your StorONE nodes.
Create addresses in Azure first. Configure any IP address on a VM network interface in Azure before you use it in StorONE. On cloud deployments, StorONE doesn't create addresses itself. If you try to add an address that isn't configured yet, StorONE refuses it with: "On cloud deployments, address needs to already be configured."
For how floating IPs work in general, see Floating IPs.
Step 3: Boot and sign in
Start the virtual machine. Once it's up, sign in to the web interface on port 443.
Step 4: Configure storage
Create pools, volumes, and replication from the on-premises system or from the Azure system's own web interface, as you would on premises. See Drives, Pools, and Volumes.
To use the Azure system as a replication target, continue with Example: disaster recovery to Azure.
See also: Overview · Limitations and best practices · Systems